Testing Your Checkout Integration
As a developer integrating PlanPay, it's crucial to test the checkout process to ensure a smooth experience for your customers. To do so, you can simulate a customer checkout by following the steps outlined below. By doing this, you can verify that your integration is working as expected and identify any issues before launching to your customers.
Step 1: Previewing Checkout Options
Before proceeding with the checkout, it's important to preview the available options that the customer will see. This step allows you to verify that the widget is working correctly and that all necessary information is being displayed accurately.
To preview the checkout options, follow these steps:
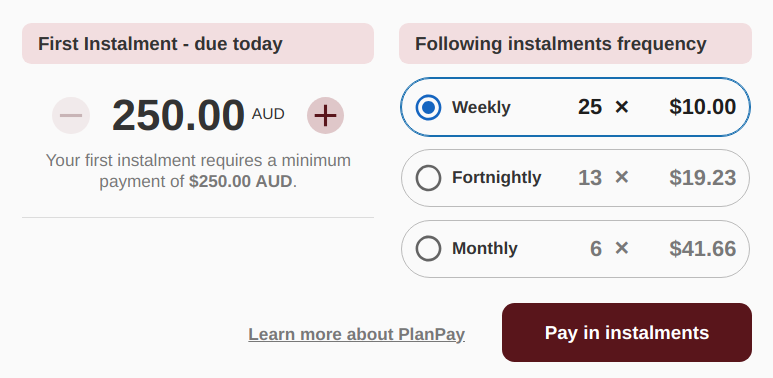
- Load your integration and navigate to the payment page.
- Choose the desired frequency (weekly, fortnightly, or monthly) and the amount that the customer wants to pay today.
- The widget will automatically calculate the resulting number of instalments and the instalment amount based on the chosen frequency and initial payment amount.
- Click on the "Pay in installments" button to proceed to the PlanPay sign-up page.
Make sure to test all possible scenarios, including different initial payment amounts and frequencies. This will ensure that the widget is functioning as expected and that your integration is working seamlessly.
Step 2: Signing Up or Signing In to PlanPay
To start the PlanPay checkout process, the customer will need to sign up or sign in to their PlanPay account. This step ensures that the customer is eligible for PlanPay and has a valid account to complete the transaction.
The steps in the section will be skipped if the customer is already logged in.
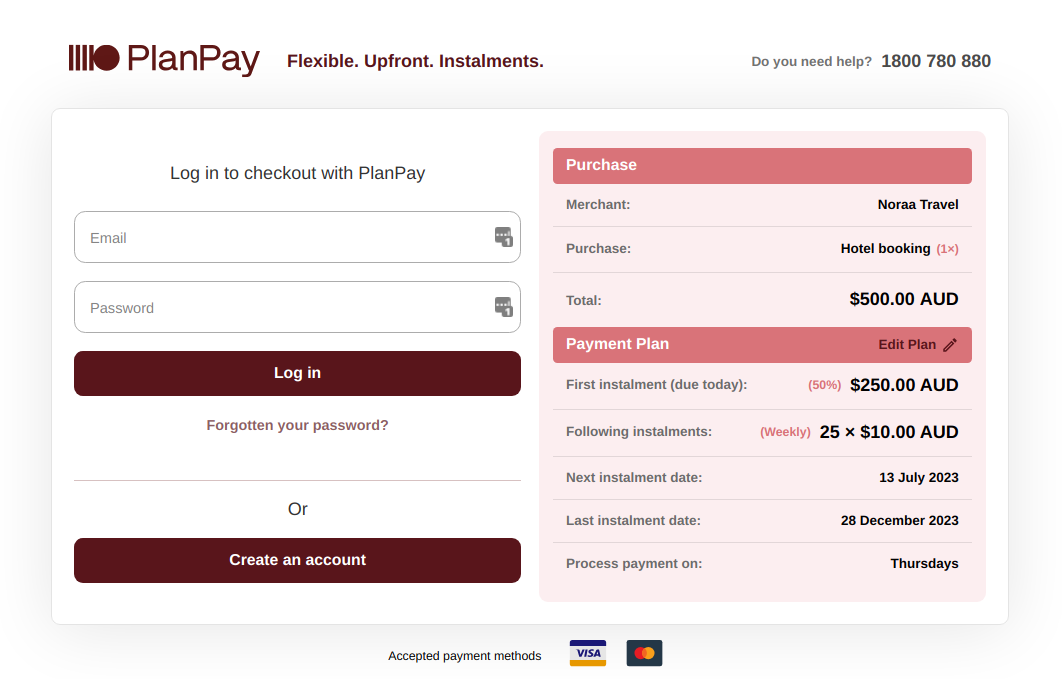
To sign up or sign in to PlanPay, follow these steps:
- The sign-up page will prompt the customer to sign in or sign up to PlanPay. If the customer already has a PlanPay account, they can sign in using their existing email address and password. If the customer doesn't have an account yet, they can sign up by entering their email address, password, and other necessary information.
- After signing in or signing up, the customer will be redirected back to the payment page to continue with the checkout process.
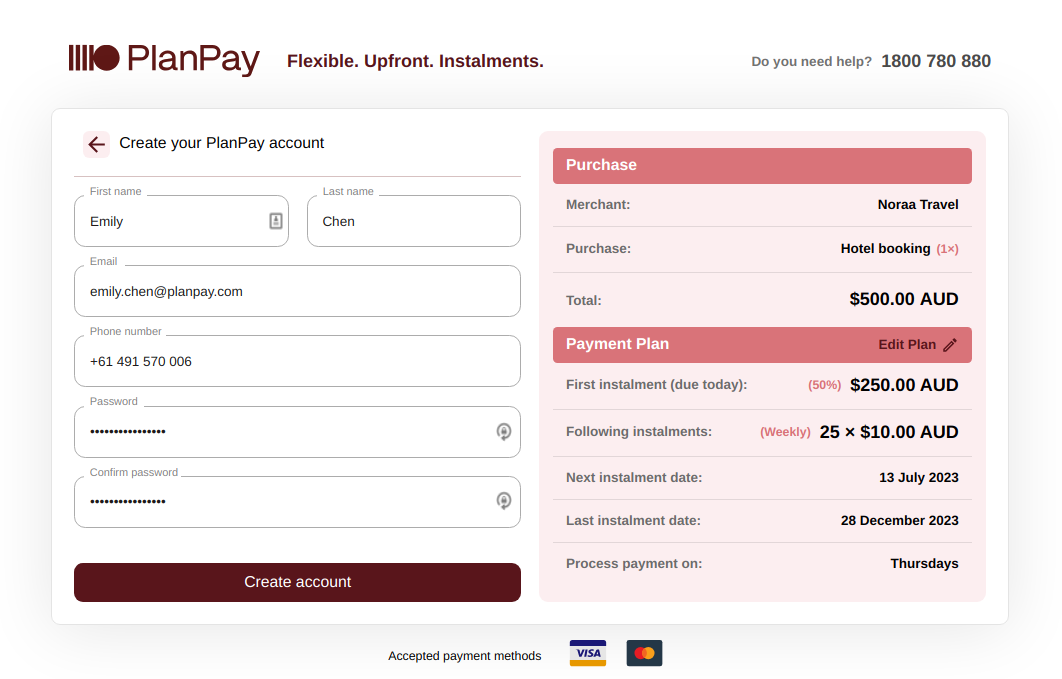
To ensure the security of the customer's account, a One Time Password (OTP) check will be performed during the sign-up process. The OTP will be sent to the customer's email address to verify that they have access to the email associated with their account. This step helps to prevent unauthorized access and ensures that the customer's account is secure.
Make sure to test both sign-in and sign-up scenarios to ensure that the process is smooth and error-free for the customer.
Step 3: Review Checkout Details and Add Funding Source
After signing up or signing in to PlanPay, the customer will be taken to a screen where they can review the details of their checkout. This screen will contain the same information as the checkout preview from Step 1, as well as extended details about the instalLments.
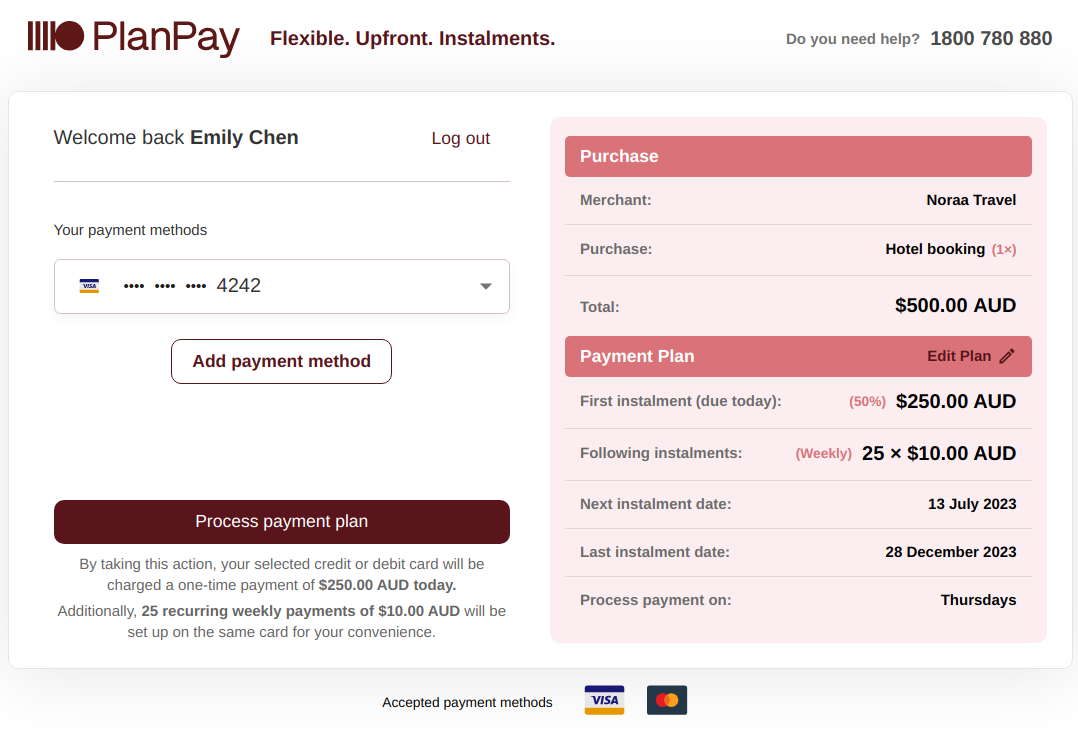
If the customer does not have a valid funding source associated with their account, they will be prompted to add a credit card or other payment method.
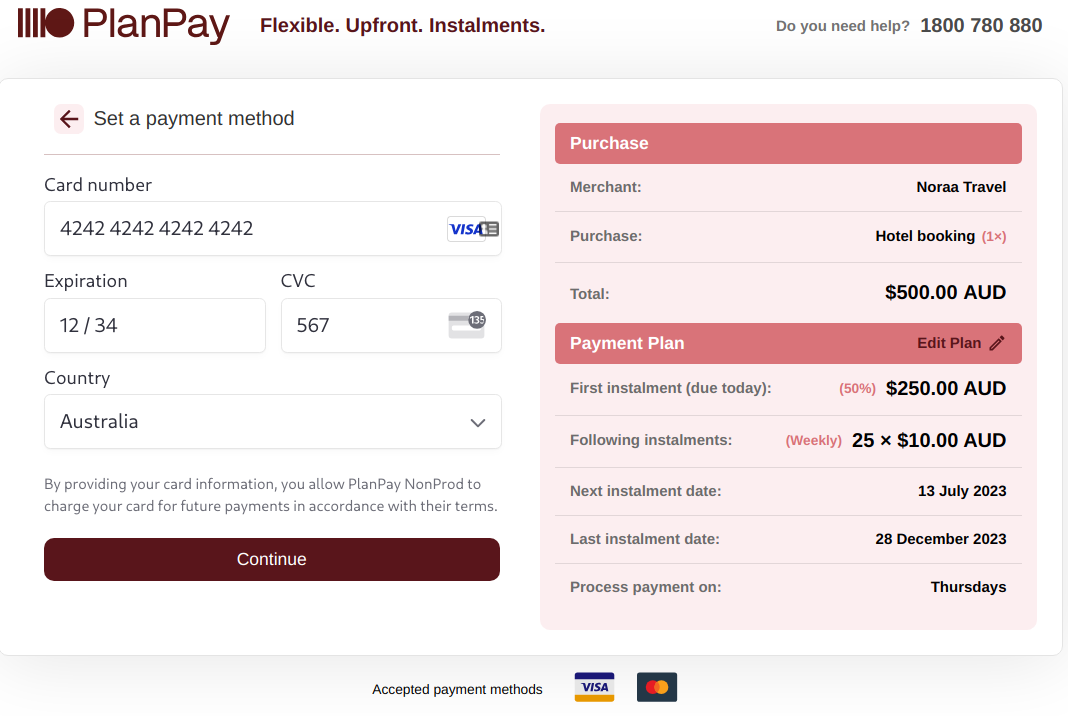
You can use the following card details with any name on card to test.
| Card type | Card number | CVV | Expiry |
|---|---|---|---|
| Visa | 4242424242424242 | Any 3 digits | Any future date |
| Mastercard | 5555555555554444 | Any 3 digits | Any future date |
| American Express | 378282246310005 | Any 4 digits | Any future date |
| Expired card decline | 4000000000000069 | Any 3 digits | Any future date |
Please note that these cards will only work in the PlanPay sandbox environment and assume that you are using the Stripe payment gateway. They are not usable for production bookings with the live gateway, only for testing purposes. You can use the following card details with any name on the card to test.
Once the customer has reviewed the details and confirmed their agreement to the terms of the checkout, they can click the "Buy now" button to continue with the checkout process. The customer will then be shown a confirmation message indicating that the sale has gone through successfully.
Finally, the customer will see a notice informing them that they will be redirected back to the merchant's website. The URL for this redirect will be the value of the redirectURL property that was provided by the merchant when creating the checkout.
After completing the checkout, the customer will receive an email confirmation containing details about their PlanPay account and the instalment plan. To ensure a seamless checkout experience, be sure to test each possible scenario to identify and resolve any issues before deploying your integration to production.
Note that after completing the test checkout process, the next step is to verify the checkout status using an API call with the API key. The following section will provide more information on how to perform the verification process.